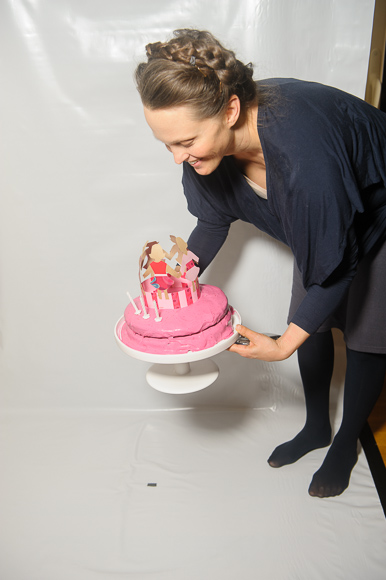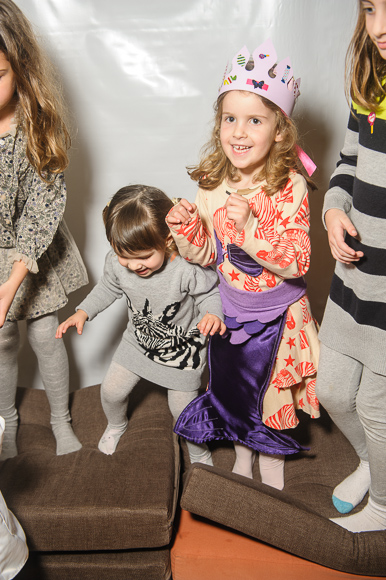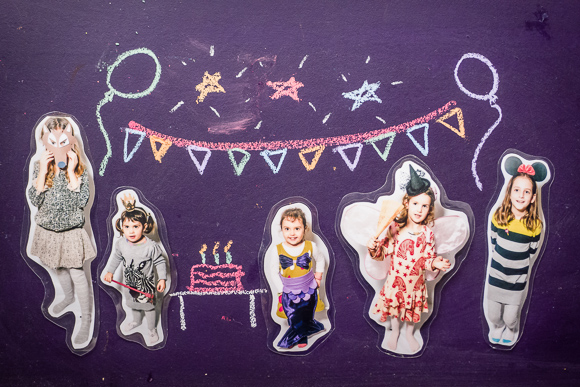
Nelly loves paper dolls. Her birthday seemed like a nice opportunity to try out an idea Sara had: making paper dolls out of photos shot on white background. Since Iris was not even 3 months old, we had to keep it small. Nelly insisted on inviting girls only.
To make things more fun and involve the girls in the process I thought to set up the whole thing as a photo booth. This way the girls would essentially take their own pictures instead of having to pose for a grown up. The original idea turned into a 2-in-1 paper-dolls-and-photo-booth project. For an extra push we brought in a basket and filled it with props and accessories from Nelly’s costume drawer. Here’s a brief making-of should you wish to try something similar.
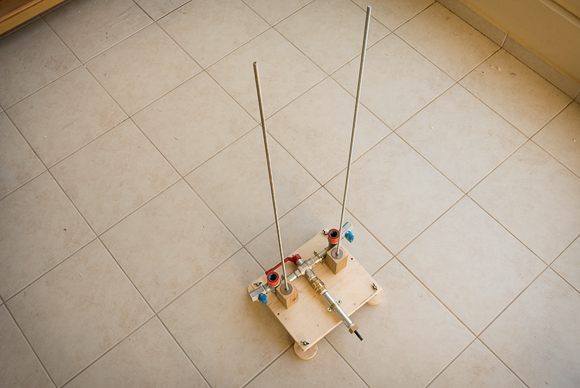
When dealing with kids, safety is a big concern. Therefore, the basic requirement which drove the whole setup was to keep the floor clear: no stands, no tripods, no cables. This was made possible by doing two things. Using the curtain rod as the background support and an Autopole for holding all the gear.
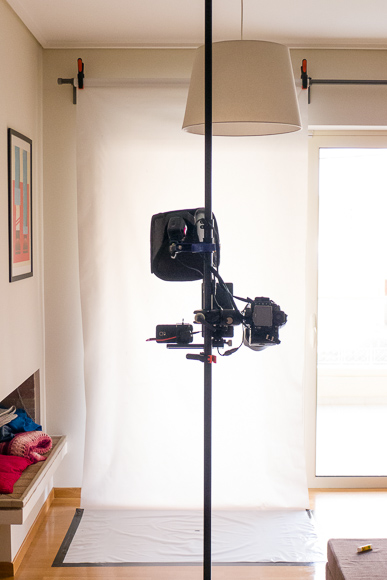
I was lucky able to source a white vinyl roll exactly as wide as the space between two adjacent curtain mounts. A pvc pipe was used as a core for the roll and a couple of A-clamps fixed the roll in place. Gaffer tape kept the bottom part pinned safely.
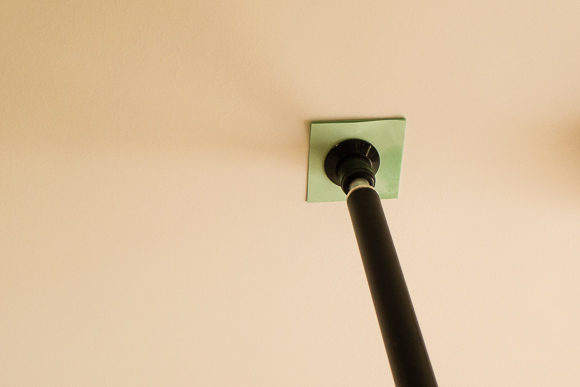
I was looking for the heavy duty Autopole (and would strongly suggest you do too), but the only available rental one at the time was a smaller diameter model. This extra limitation meant that extra care should be taken not to overload it and that everything should be kept as close to the pole as possible to prevent torquing forces. Tip: in case you use an Autopole indoors, do your ceiling a favor and protect it from the black rubber feet.
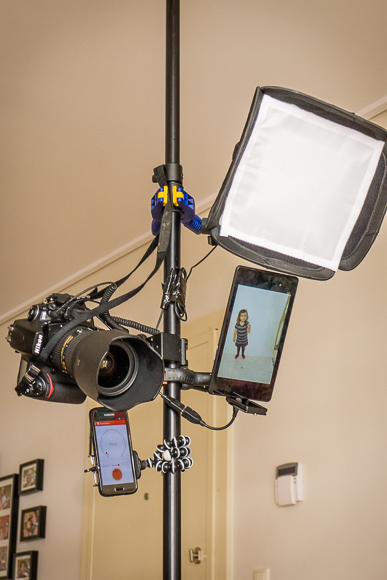
Two pieces of software were used. Both are free apps, but require certain cables to connect.
qDslrDashboard on a tablet showed the girls the pictures they were taking. If shooting RAW, set your camera at RAW+JPG and make the jpeg as tiny as possible (“small” & “basic” in Nikon terms). By doing so you will achieve very fast transfers to the tablet. Use a USB OTG cable to connect the tablet to the camera.
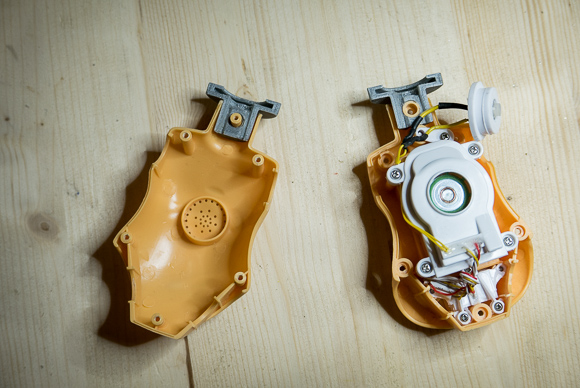
TriggerTrap in sound sensor mode was used on a smartphone. This provided for two things: cable free shooting and lots of screaming fun. Tip: tweak the threshold/sensitivity settings to make the camera ignore the background noise and be triggered only by the shoots/claps/cheeses that mean to trigger it. A delay between triggers will also ensure that your flash has enough time to recycle. In case you wish to capture the post-cheese moment instead of the exact cheese moment, TriggerTrap offers such an offset too. The TriggerTrap dongle is required to connect to the camera.
To keep shooting fast (and predictable) the camera was set at manual exposure and manual focus. Tip: determine your desired in-focus area, set the focus accordingly with the help of a DoF calculator and fix the focus ring with gaffer tape to prevent accidental loss of focus.
Due to the small size Autopole, a single speedlight with a small softbox was used as the only light source. It handled pretty well. The small size offered a little light wrap and snappy contrast at the same time. I did experiment with a second speedlight behind the background (outside the window), but even though the white background was rendering nicer, random positioning of the girls would result in softer pictures and flare. I went with one speedlight for simplicity and to eliminate the need for wireless triggers (and the concern for extra batteries). Also once the paper dolls are cut, it does not matter if the outline is not pure white. Subject to background separation is enough.
Tip: speaking of batteries, make sure everything is charged before the event. It would be a pity to stop halfway because your tablet/phone/camera/flash ran out of juice.
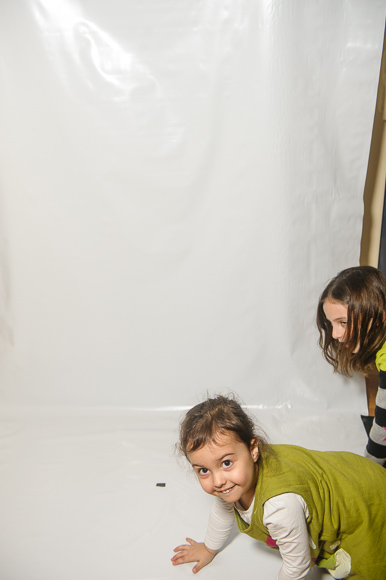
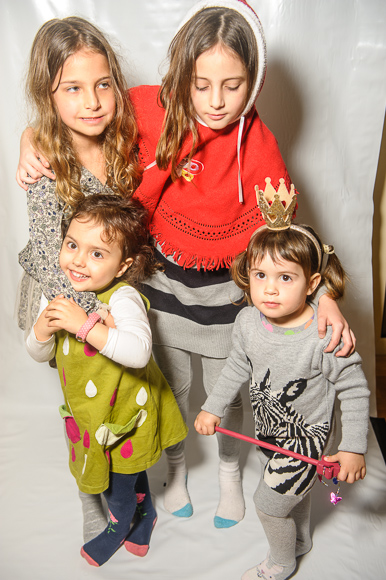
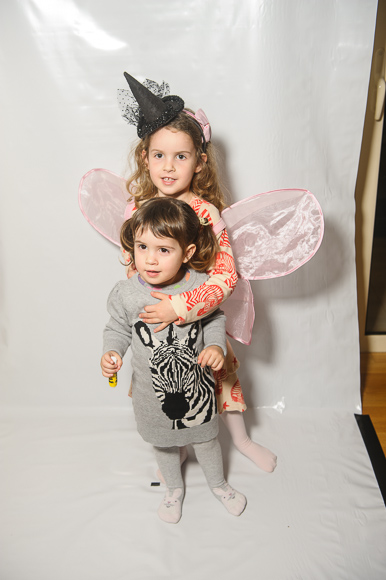
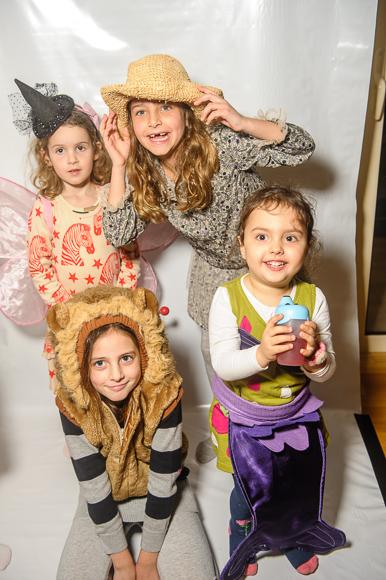
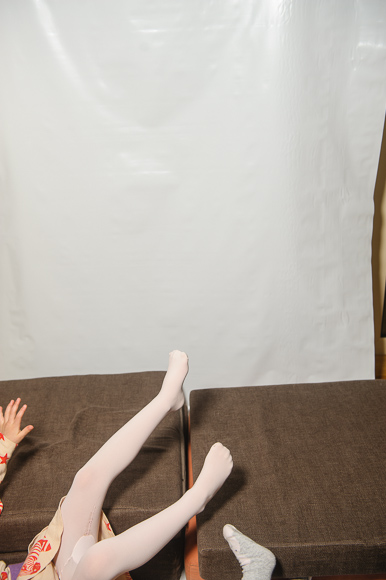
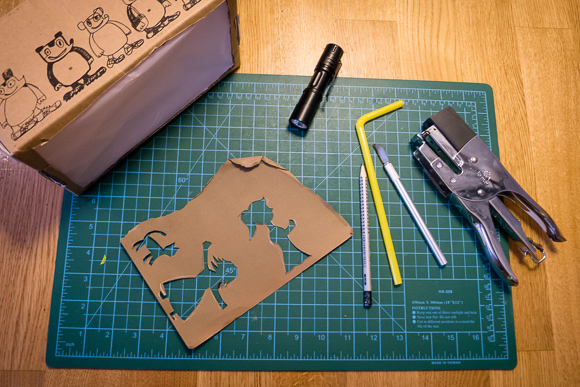
Making the actual paper dolls is a simple 3 step process: print, cut, laminate. Few of the shots will be candidates for cutting into dolls, but the whole process can capture some nice spontaneous moments. Here are some random outtakes.